
In this first article, we are going to do a factory reset on the firewall and then begin the configuration. So here are our current firewall, let’s see the CLI (Command Line Interface) and the syntax we are going to use is:
Execute factoryreset
Because our firewall is a VM so I need to take a snapshot after factory reset so I use:
Execute factoryreset-shutdown
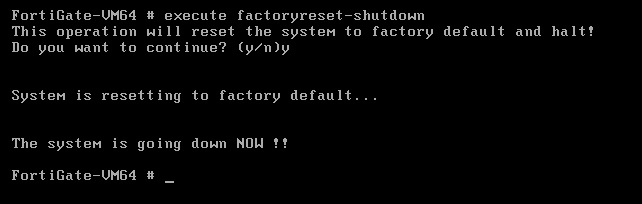
Right after factory reset you can take your snap shot from the VM then you can restore to initial state whenever you want.
Then we can login to firewall, default user is Admin with No Password and set a new password then confirm the new password:

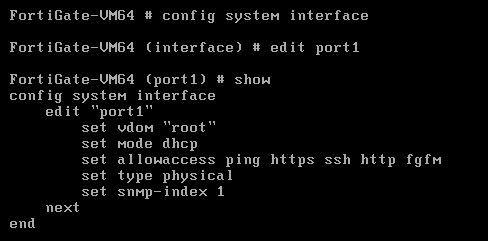
By default, on Port1 it is a DHCP Client so can getting a DHCP assign address from management network. However, we want specifically assign the Port1 on the management network. So in the firewall through this command:
get system interface physical

We can see the port1 has a dhcp address, and what we are going to do is to change that to a static and assign an IP address. So to do that :
Now change to static and set the IP address 192.168.1.71 with a 24 bit mask.

Then we can set allow access to some services, we want “https, http, ssh and ping” to be accessed, so we use this syntax :

And also we can set alias for the interface:

Then you can see the result by “show “
Then typing “end”
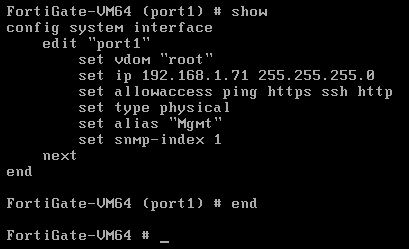
And here with command line interface we set up initial ip address information on that Port1, so we should now be able to connect to it from our management computer in the same subnet. And it was exactly what we wanted to do and I hope this’s been informative for you and I’d like to thank you.
In the following texts we will talk about further information through the Lab and try to show many new concepts which I hope to be useful for you and your carriers.
